Starting from Seeds – Reading a Seed Packet
June 2, 2021
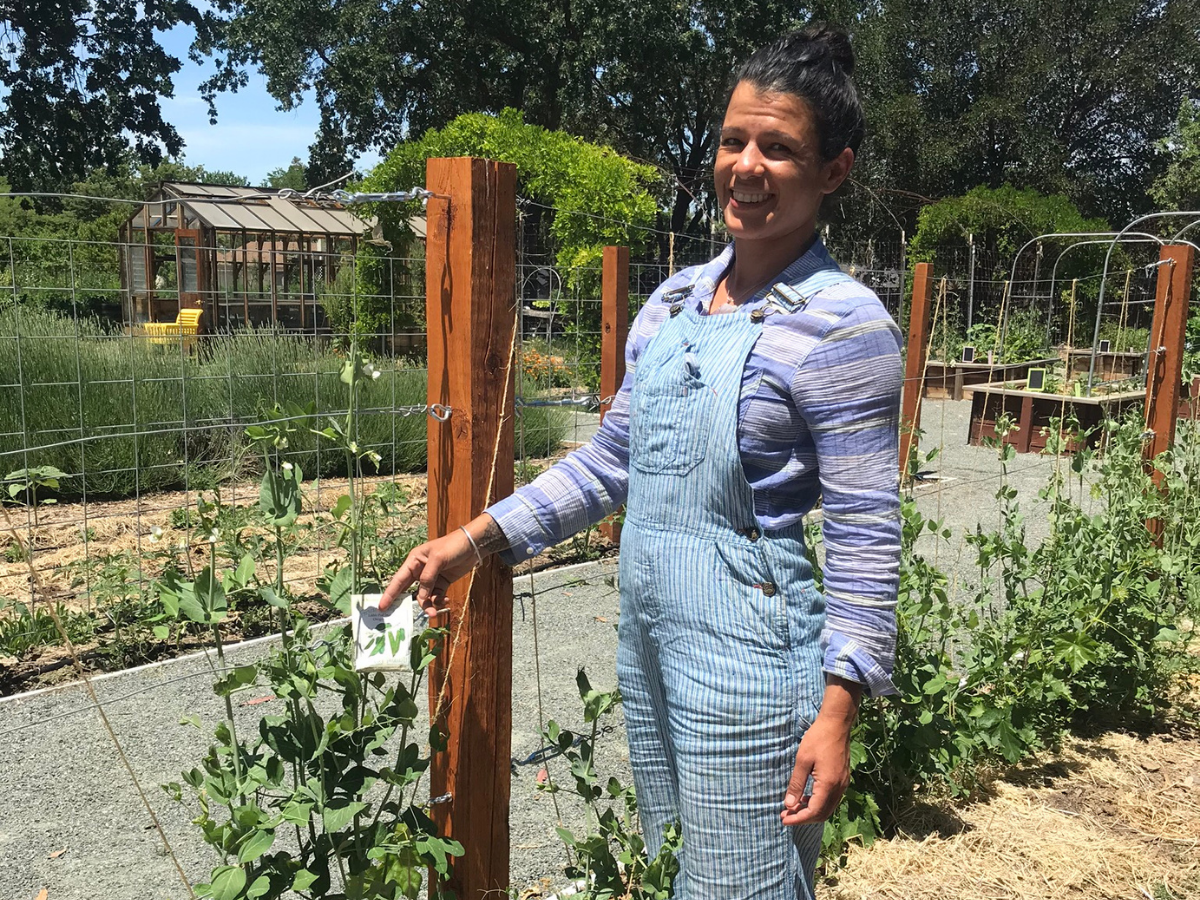
If you’re looking to try something new this summer, this blog article is for you! Nothing tastes better than fresh summer fruits and veggies you’ve grown yourself! You can create a veggie garden with plant starts, or grow seeds on your own. This blog article will give you all the information you need to know about seeds: where to get them, how to read a seed packet, how to space out seeds for planting in the ground, and some tips for making planting seeds easier!
The first step is to decide what you want to grow! Think about what kinds of fruits, veggies or herbs you like to eat, and make a list. Don’t forget about flowers. Include flowers you think are pretty or smell nice. Once you have your list ready, check to make sure it’s the right season for that type of plant to grow. You can check each type of plant using a quick Google search. Just search, “when to start (plant) seeds”. If you already have the seeds, you can check the back of the seed packet (more on this later).
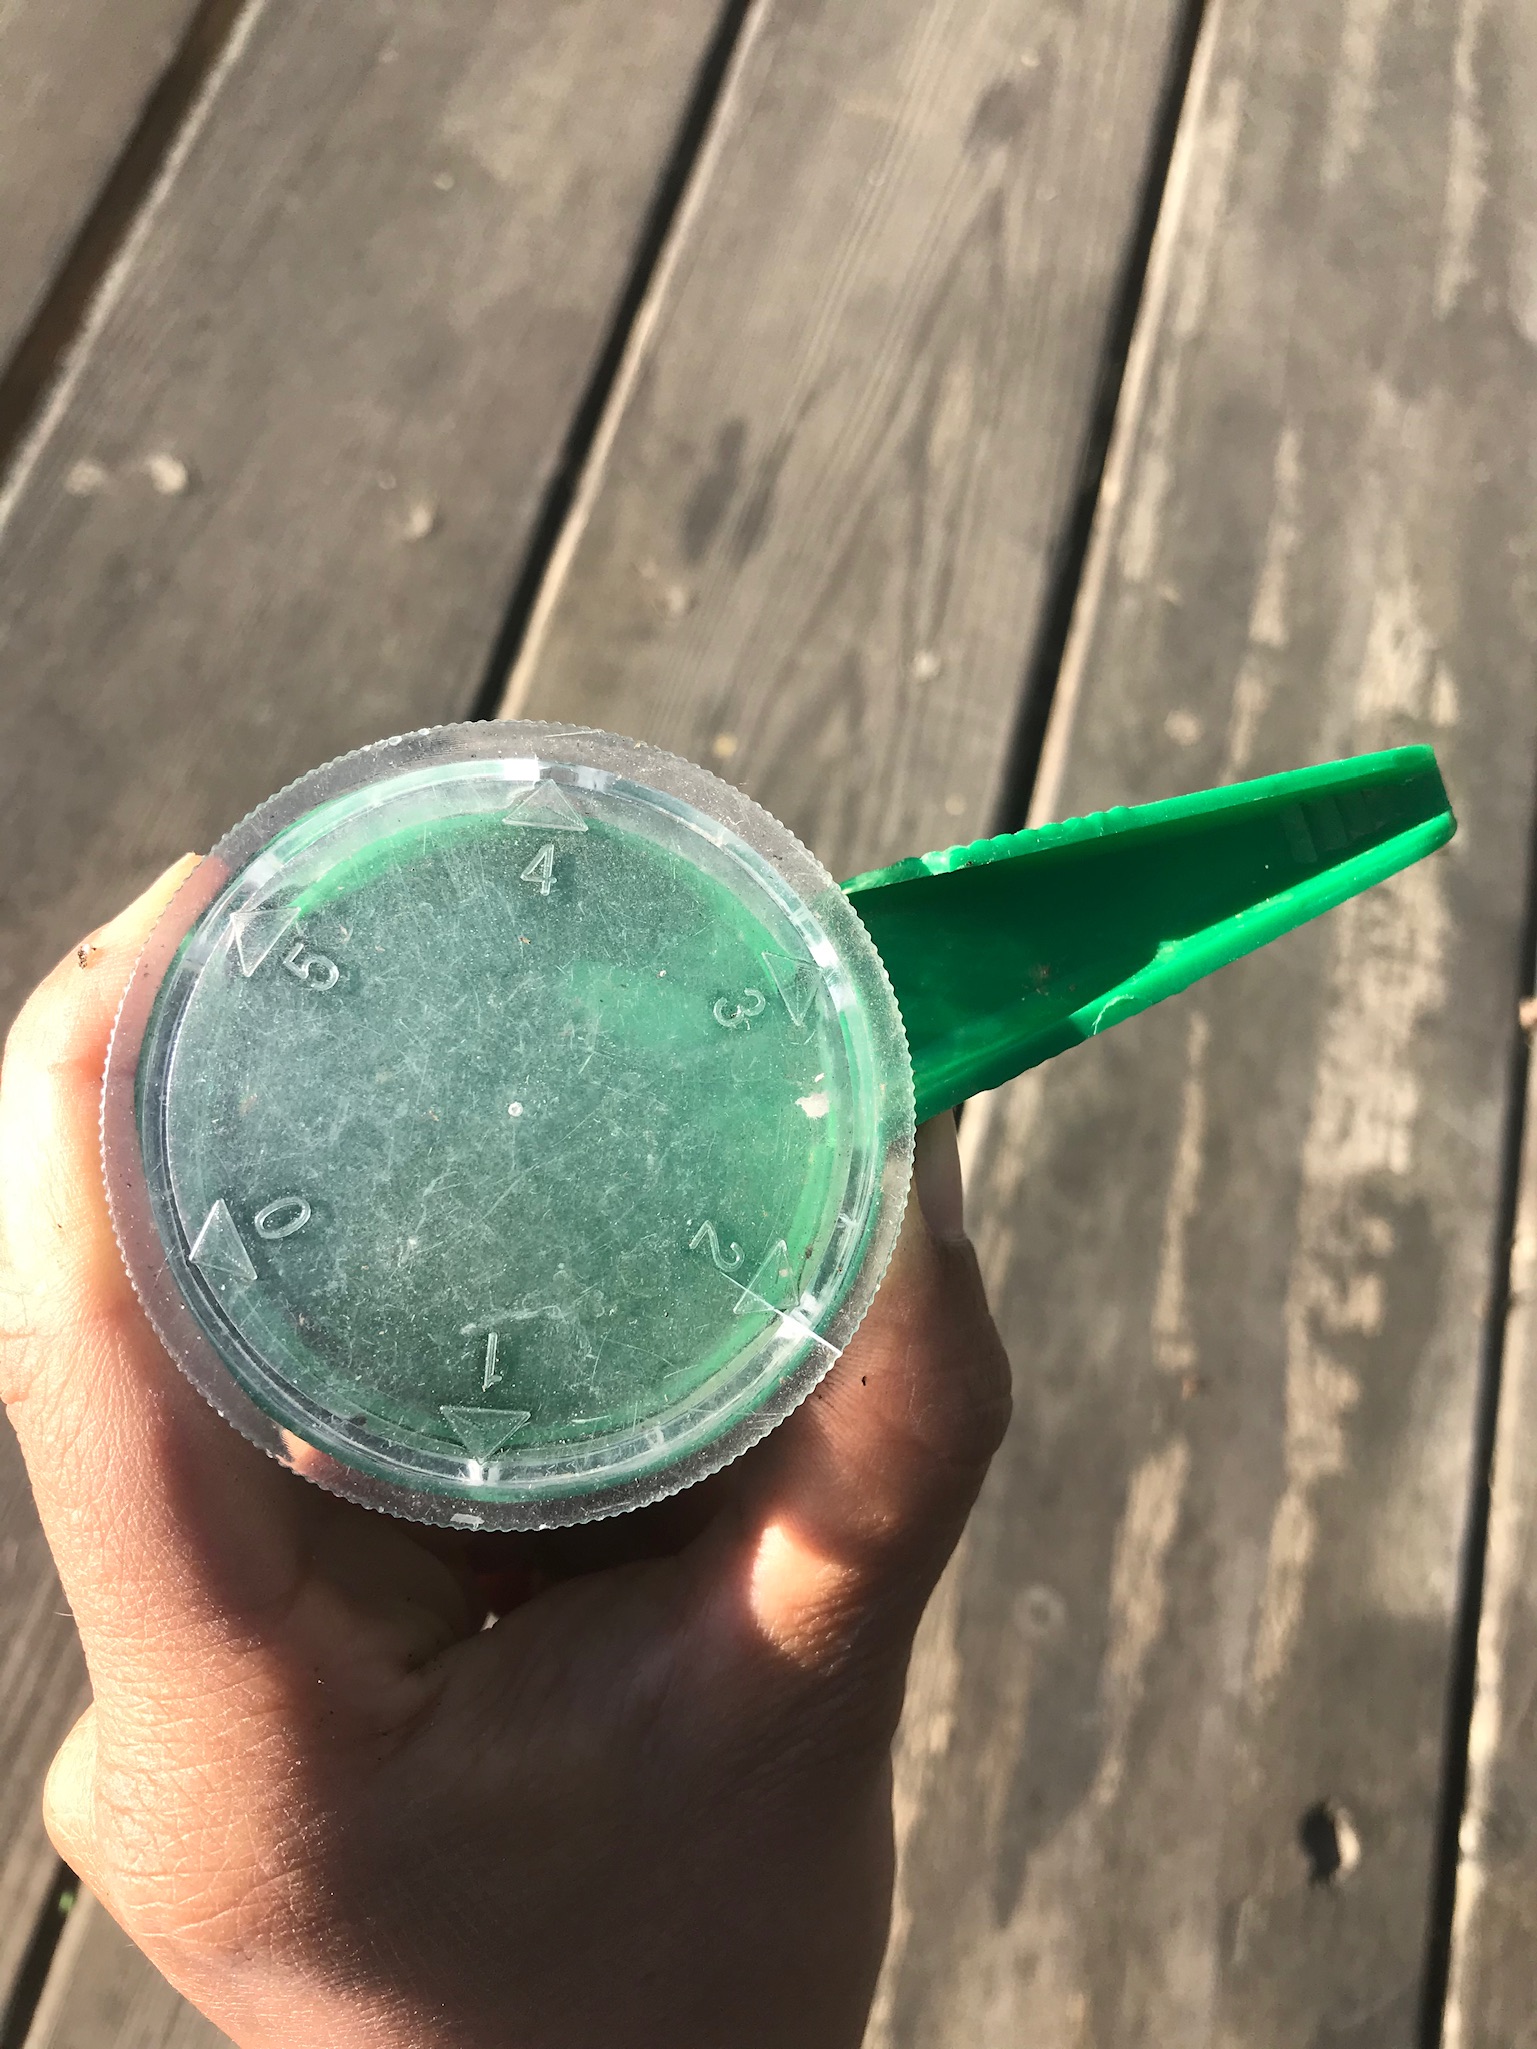
Once you’ve decided on a few plants you’d like to grow, another important thing to think about is seed size. Seeds can range in size from smaller than a grain of salt to bigger than an avocado pit! Knowing about how big your seeds are can help you decide what you’ll be able to plant in the space you have. It can also help you figure out if you can hold the seeds in your hand to plant them, or if you need a special tool, such as a seed dial dispenser, to help you plant them. Bigger seeds like those from pea plants or sunflowers tend to be easier to handle. But if you’re working with small seeds, like tomato seeds, a seed dial dispenser can be very handy. Seed dial dispensers are also useful for folks who have difficulty with fine motor skills or have tremors in their hands.
Using a Seed Dial
 Start with the clear plastic side of the seed dial facing up.
- Pop off the clear plastic cover and examine the size of the seed holes.
- Match the size of your seed with a hole on the clear plastic cover that the seed can just fit through. The hole should not be much bigger than the seed, so only 1 seed at a time can fit through.
- Put your seeds in the well of the green plastic side of the dial.
- Put the clear plastic side of the dial back on, with the seed hole you matched with your seed aligned with the opening on the green dial (the base of the triangle). Seed holes are numbered to help you remember which size matched your seed.
- Tilt the dial to set out 1-2 seeds at a time, depending on the size of the seed.
- Use the dial to sprinkle any extra seeds back into the seed packet.
Check out this awesome tutorial to see how this works!

Where to Get Seeds
Once you have a sense of the size and type of seed you want to plant, the next step is getting the seeds. If you’re gardening at home, it’s best to buy seeds from your local nursery or garden store like Lowes or Home Depot.
Reading a Seed Packet
Now comes perhaps the trickiest part of planting the seeds: reading the seed packet. Thankfully, we have created a guide to help you read and understand the many different parts of a seed packet. See below for an explanation of what each part of the seed packet means.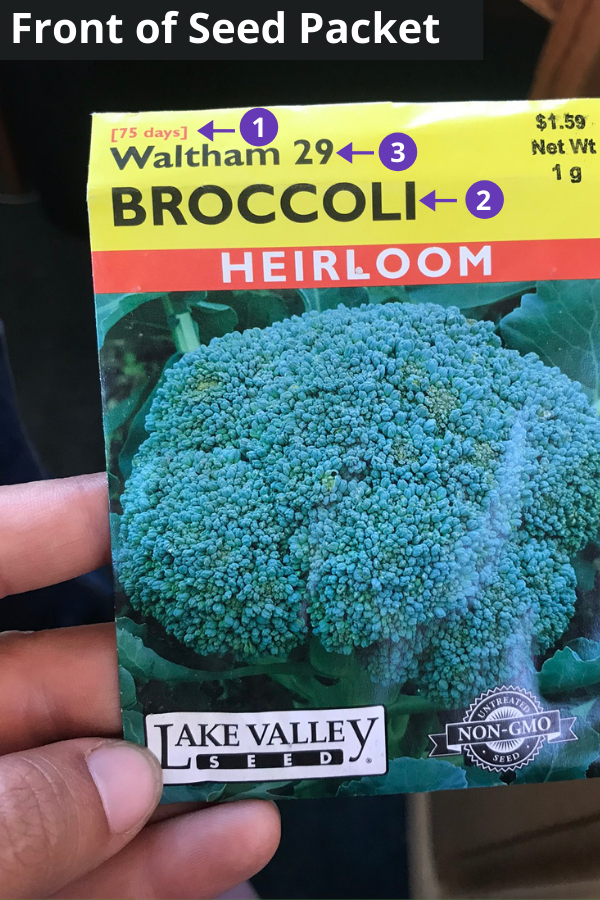
Front of Seed Packet
- Days to Maturity. This number tells you how many days it takes for the plant to reach maturity once the seed is sown. Once the plant is mature, you can harvest from it!
- Type of Seed. This will tell you the type of seed (plant) that is in the packet.
- Variety of Seed. This will tell you the specific type of variety of seed in the packet. For instance, the type of seed might be kale, but there are different types of kale. The variety will list Dino Kale, or Red Russian Kale, etc.
Back of the Seed Packet
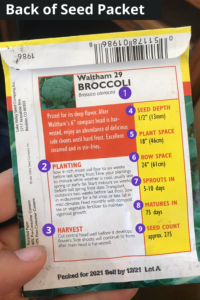 Scientific Name. This is the name scientists use to refer to this type of plant. This can be helpful to know if the plant you are growing has more than one name. For instance, cilantro and coriander are the same plant. If you wanted to look up information about that plant, it might be helpful to type the scientific name, Coriandrum sativum, into an internet search bar.
- Planting. The most important information in this section of the packet is when to plant the seeds. In this case, it is good to sow (plant in the ground) these seeds either in early spring or end of summer.
- Harvest. This section tells you how to pick or harvest your fruit or vegetable when it is done growing.
- Seed Depth. This section tells you how deep your seed needs to be planted in the soil. In this case, seeds need to be sown about ½ inch deep. That means each individual seed needs to be planted about ½ of an inch deep into the ground before you lightly cover it with soil. (More information about measuring seed depth and spacing later.)
- Plant Space. This tells you about how much space in your planting bed this plant will take up; in this case, about 18 inches in diameter.
- Row Space. If you’re planting multiple rows of seeds in your garden, this is about how far apart your rows should be.
- Sprouts In. This tells you when the seed will sprout, or “germinate.” In this case, you should see your seed sprout in 5-10 days after planting.
- Matures In. This number tells you how many days it takes for the plant to reach maturity once the seed is sown. Once your plant is mature, you can harvest from it!
- Seed Count. This will tell you roughly how many seeds are in the packet. In this case, there are about 275 seeds in the packet.

Seed Spacing
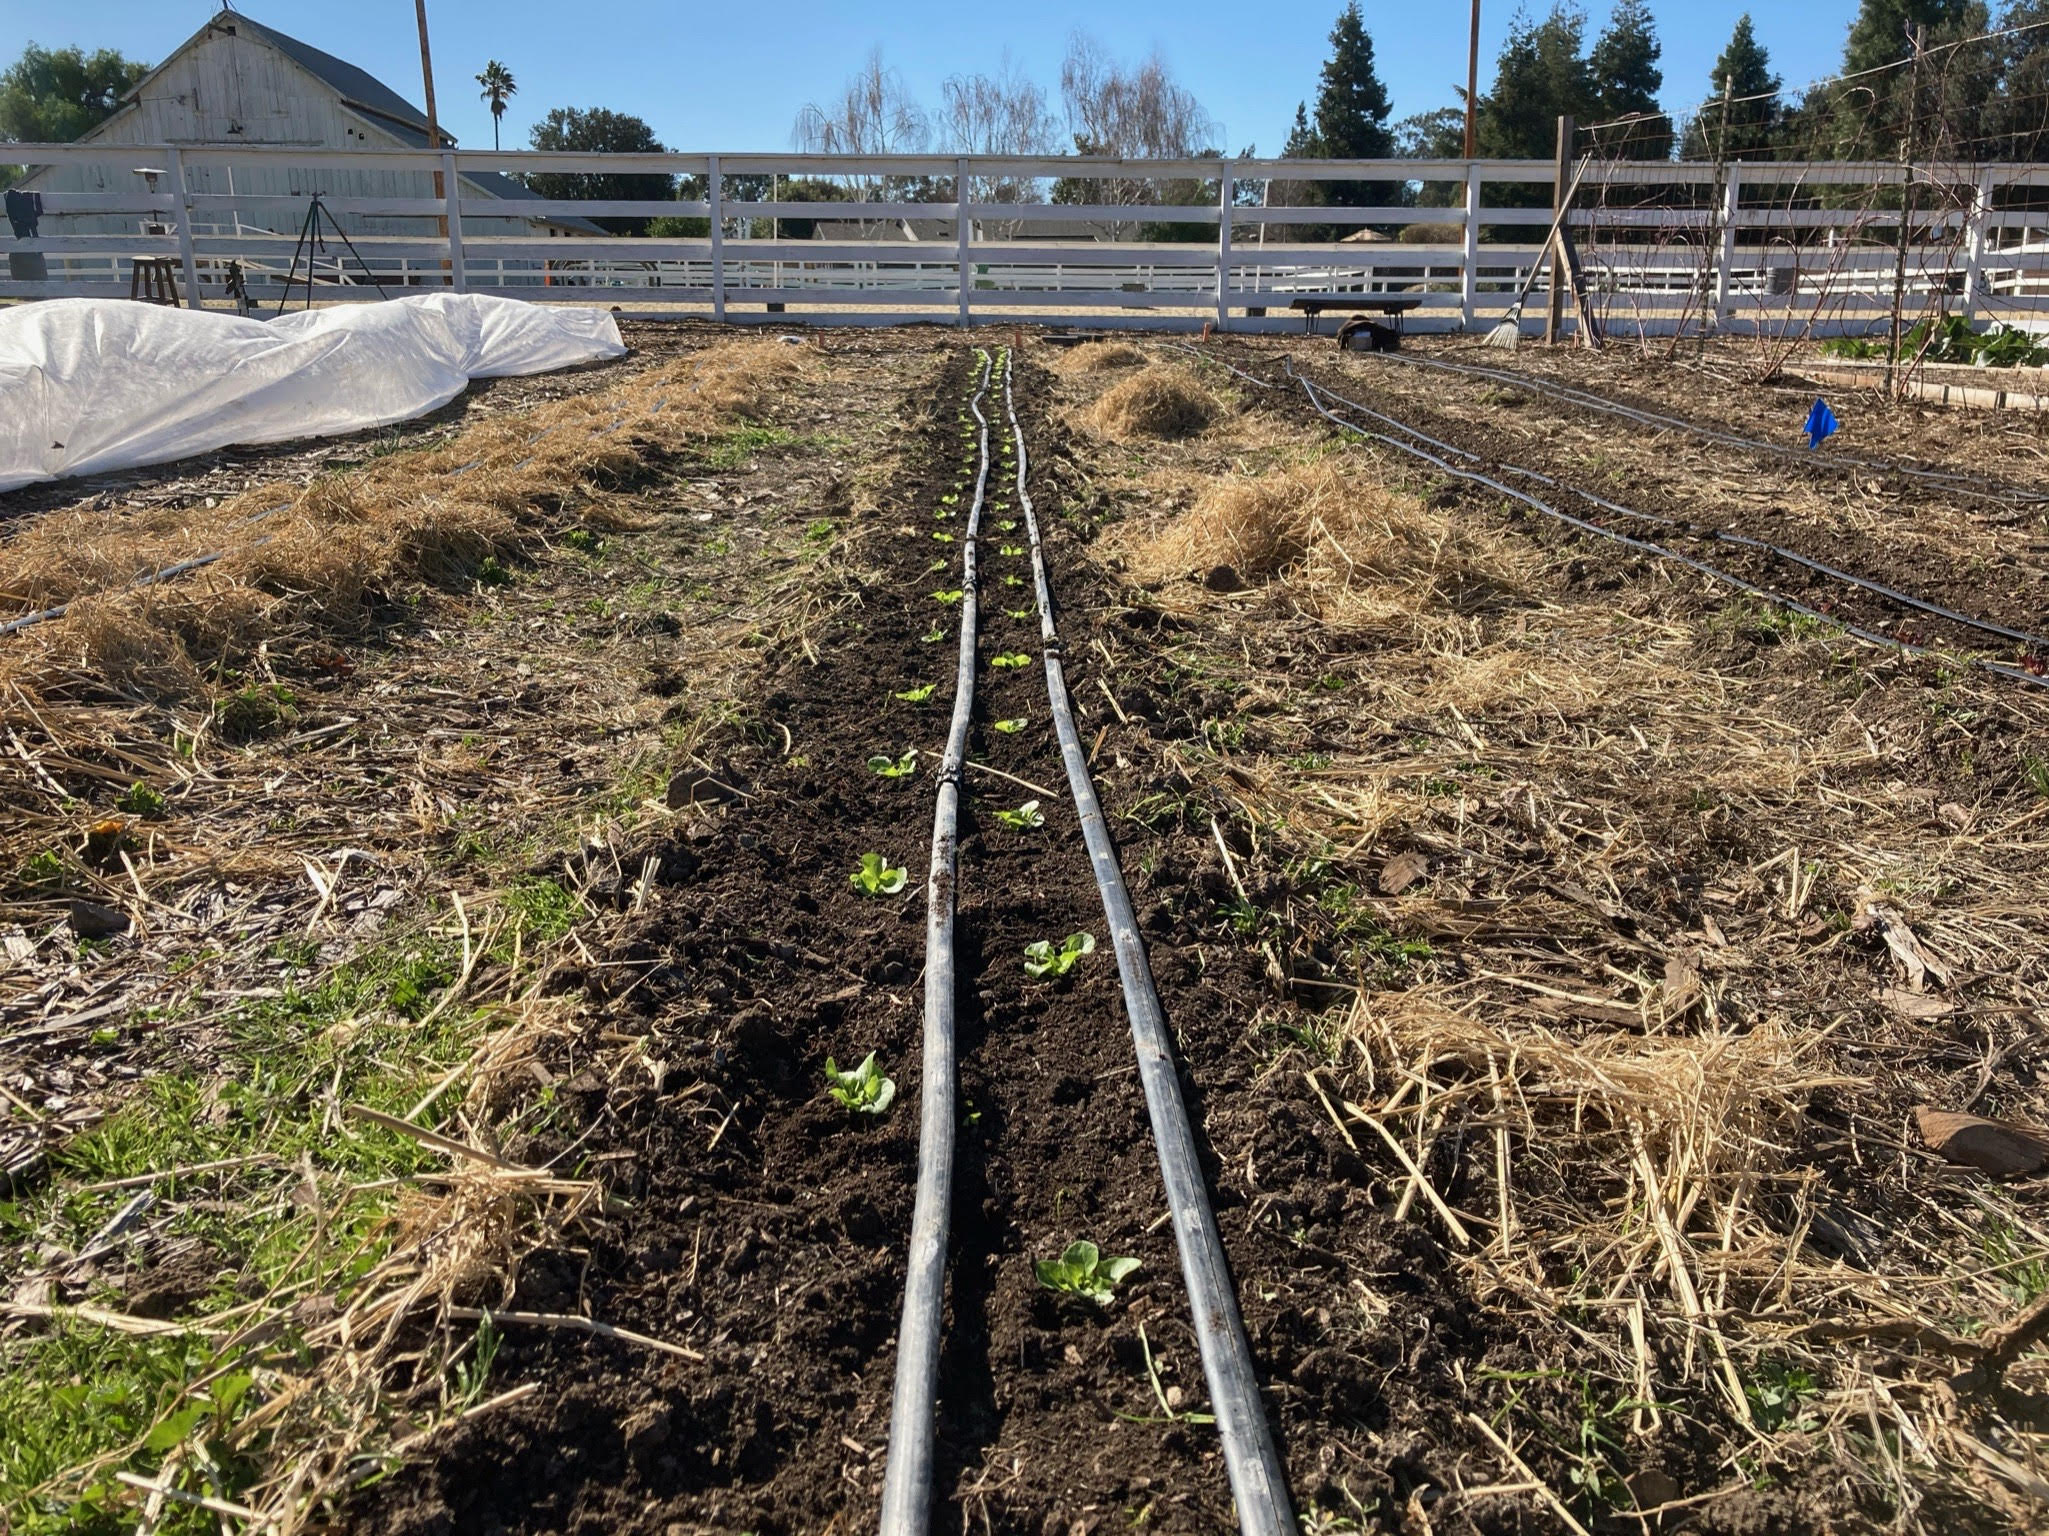 Once you have read your seed packet, it’s time to plant! From your packet, you will now know how far apart your seeds need to be planted, as well as how deep. One way to make sure your seeds are the right distance apart is to use a ruler or measuring tape to measure the distance between the first seed you plant and the second. For example, if your seeds need to be placed two inches apart, you would set down one seed where you intend to plant it, put the end of the ruler or tape at the edge of the seed, lay the ruler flat on the soil surface, and place another seed next to the big “2” that marks two inches on the ruler. (If your measuring device has both inches and centimeters, make sure you are using inches to measure; you can tell which lines are measuring inches because they are bigger and farther apart.)
 If using a measuring device is not available to you, you can “estimate” your measurements. This means you use an educated guess to decide how far apart to place your seeds. For example, the length of your thumb from the tip to the beginning of the first knuckle is about one inch long. If you’re using estimation, you can place your first seed on the soil surface, then place your second seed two “thumbs” or about two inches away. You can actually place your thumbs on the soil surface to do this, or wear a very thin glove if you’d prefer not to touch the soil. The participant in the image below is using a measuring tape to properly space his seeds for planting.
Seed Depth
 When you’ve placed your seeds the appropriate distance apart, you can begin to put them in the soil. There are a few different ways you can do this. If you’re comfortable touching the soil, you can poke your finger into the soil about as deep as the length of your thumb, or one inch. Then, place your seed in the small hole you’ve made with your finger and cover it gently with soil. Avoid patting the soil after covering the seed, as this will take away some of the air in the soil that the seed needs to grow. If your seed needs to be planted ¼ of an inch in the ground, you can estimate by putting the length of just the very tip of your thumb into the soil.
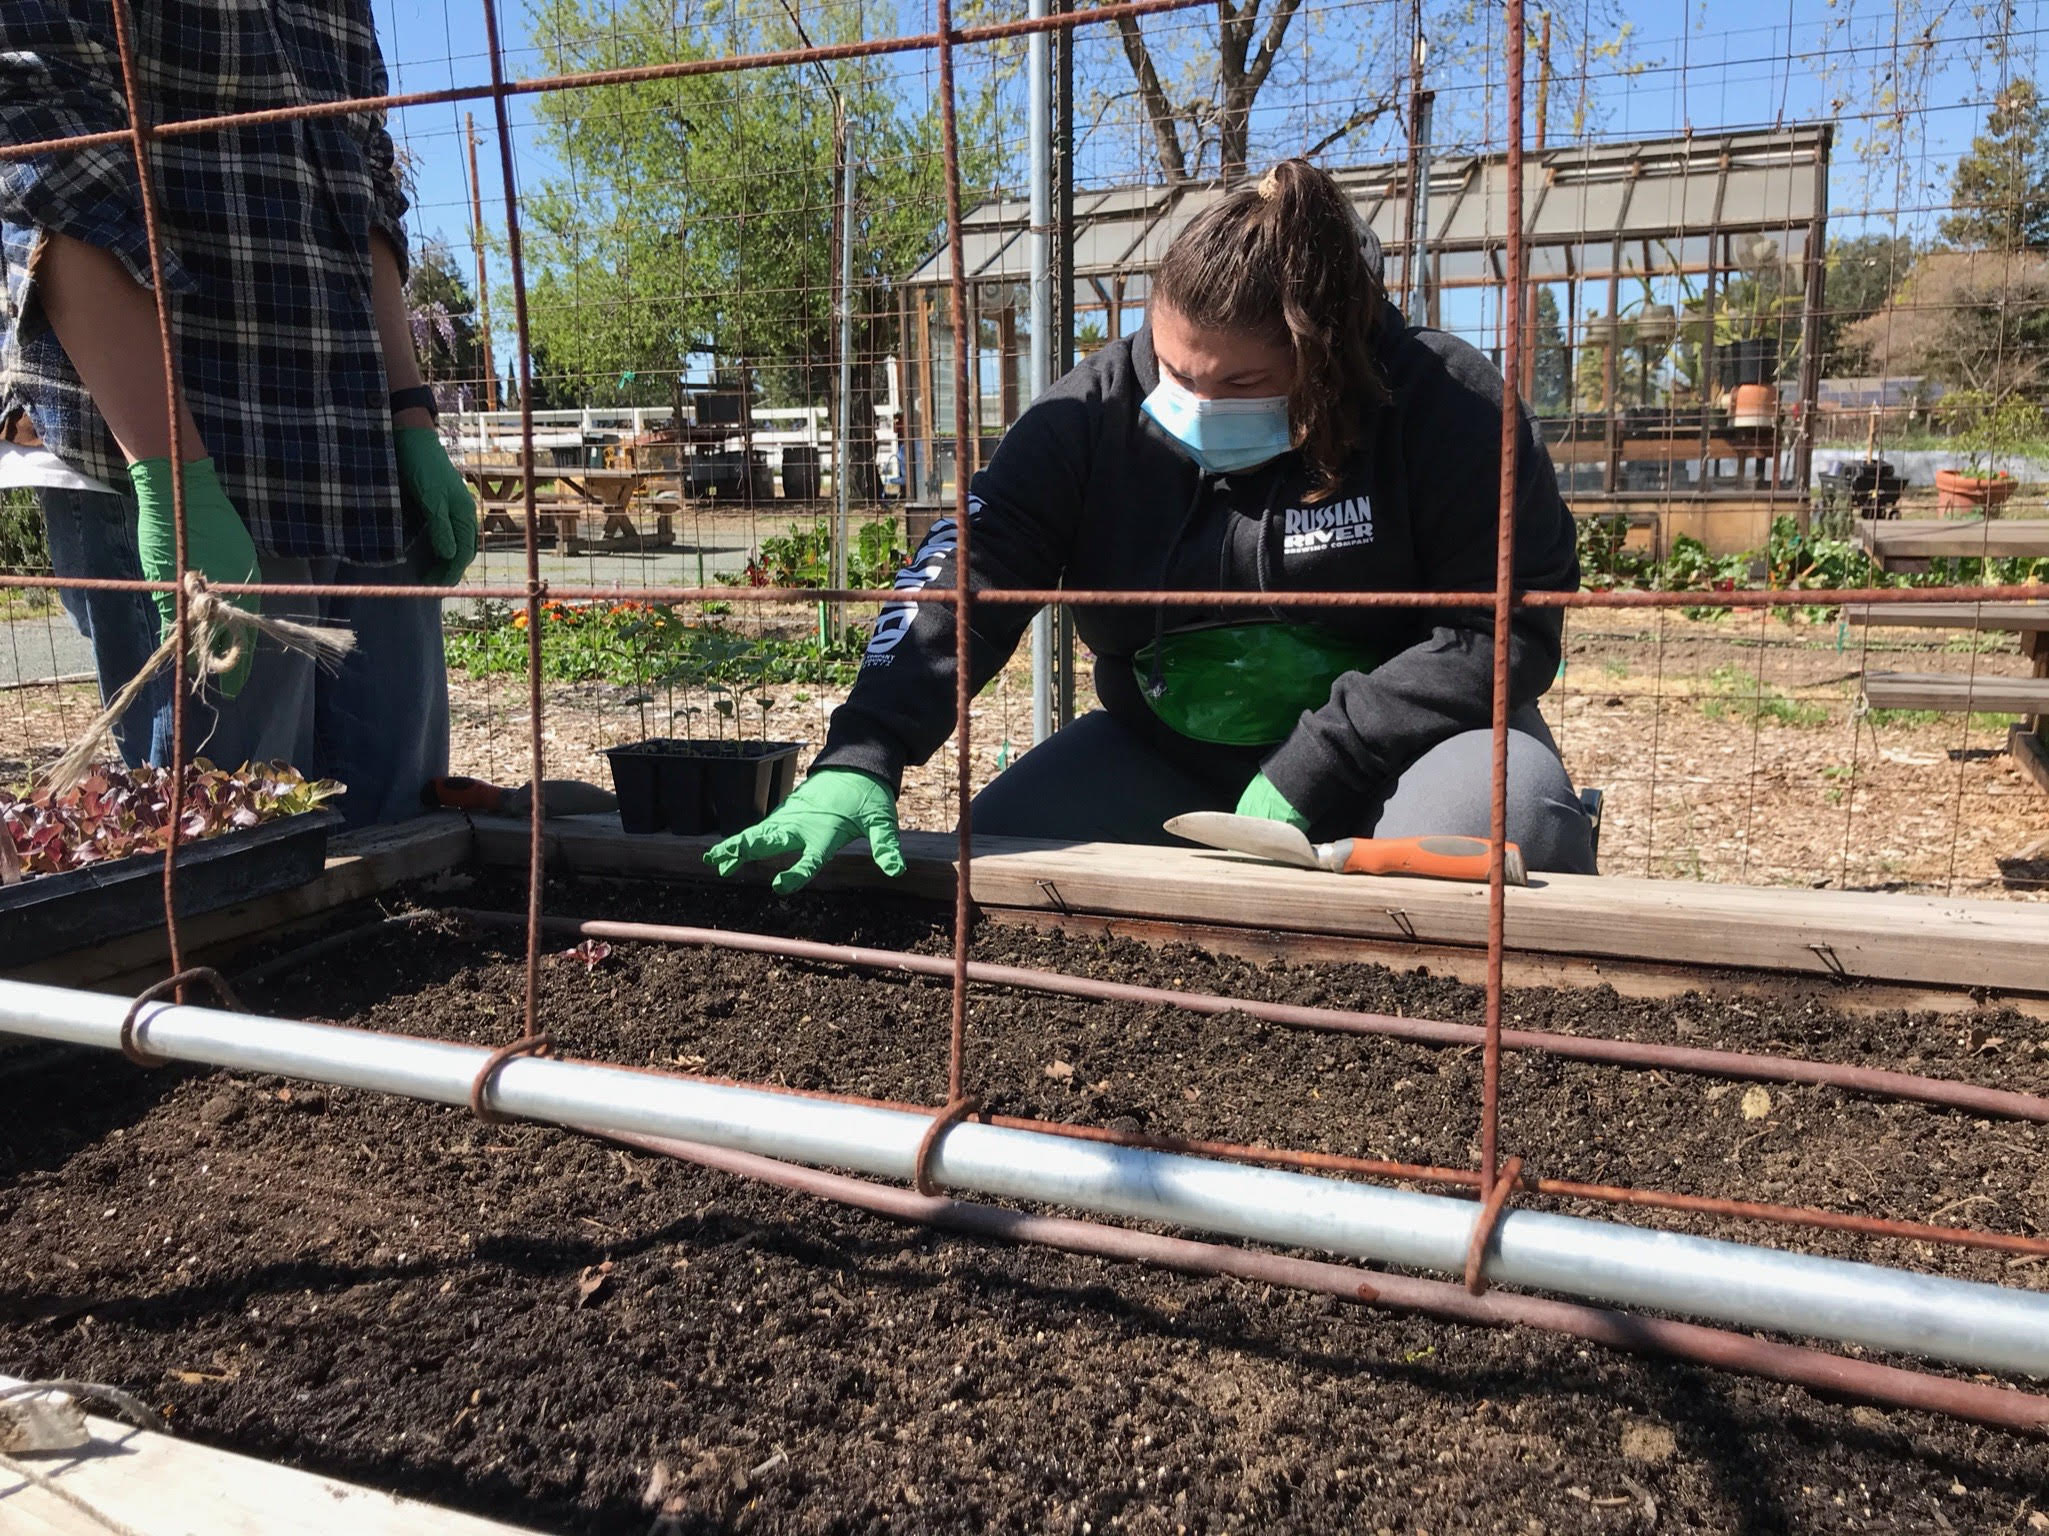 Some folks with sensory aversion may be uncomfortable touching soil. The participant in the image to the right has chosen to wear a very thin glove to protect her hands while sowing seeds. If you’d prefer not to use a glove, you can use other tools in place of your finger to create the hole for the seed. Some options to make a hole in the soil include using a thin dowel, a straw, or an old chopstick.
Below we have pictures of a seed dibbler we use to poke holes in the soil; these are handy because they have measurements written on the side, so you can see how deep to make your hole.

Once your seeds are sown, be sure to give them a drink of water with a watering can or a watering hose with a nozzle set to the “shower” setting frequently until they sprout. Then follow any watering instructions on the seed packet. Starting plants from seeds is fun, economical, and rewarding. I hope you give it a try!
Story by: Kaitlyn Kuehn, Writer and Andrea del Rio, Garden Coordinator